Table of Content
At this point, the ribbon will pull towards the right. Just twist into position and slowly pull tight both loops at the same time to finish the bow. Learn to use 5 different wood turning tools, with confidence, while you turn 7 projects, building your wood turning skills sequentially. Includes tips and ideas for marketing your wood turning, when you are ready to move forward. At this point I added a few burned lines as decoration. Take the point of the skew chisel and make a small V-groove where you want the burn line.

But to create the ornate, you first have to learn the basics. Let me show you how to turn a simple rolling pin using carbide lathe tools. A couple of months ago, I purchased my first tiered tray. They have farmhouse charm with the loveliest mini rolling pins and are mostly filled with Rae Dunn pottery.
Cut for Parting
Set the spindle speed to about 2,500 rpm and quickly move the sandpaper back and forth across the rolling pin. Start with 120-grit sandpaper and work your way up to 320. To flatten dough without a rolling pin, use a flat surface such as a cutting board or countertop. Place the dough on the surface and use your hands to flatten it into a disk. If the dough is sticky, dust it with flour before flattening. If you’ve ever wondered if you need a rolling pin to make bread, the answer is a resounding no.

Taper pins are very popular among people who have grown up with them. If you’re just learning to bake or have trouble rolling dough, keep an eye out for your rolling pin. After mixing the dough, roll it out into a ball. A tablespoon or two of flour should be used to sprinkle on the dough.
What Do I Do If I Don’t Have A Rolling Pin?
This project will teach you how to use your roughing gouge and your skew chisel. The rolling pin I turned for this project is 13” long and 1 1/2″ in diameter. The straight section is 9” long and the handles taper to 1 3/8” in diameter. Try a few different lengths and diameters to see what people are looking for. Then place your newly finished rolling pins on a tiered tray or on display in your kitchen.

Soft woods like pine and fir can be dented very easily. I made the decals for the rolling pins using my Silhouette Machine. You can also use a Cricut if that is the machine that you own.
Wood Trivet – A kitchen turning project
Here is the difference between one dowel with mineral oil and one without . Notice how it brings out the colors in the wood. Apply mineral oil to the dowel making sure to cover the entire surface. Let’s get back to creating a simple rolling pin, one that anyone can make. Drill a hole in each end of the dowel, about 1 inch from the end.

To remove from the lathe use a parting tool to reduce the size of the wood at the head and tail stock. You will have to finish the ends of the rolling pin with a small knife or carving gouge. Don’t forget to sand progressively through the grits as well. Use the skew chisel to turn the working area of the rolling pin smooth and flat.
Bread Making: How To Make Bread Without A Rolling Pin
So I started with a higher grit of sandpaper than I normally would have. I smoothed the entire rolling pin with 320 grit sand paper. Then I checked again with my fingers and took very light cuts with the skew chisel to smooth out the rolling pin. With your project still on the lathe, finishing is easy. Shellac and wax work well, but for rolling pins, mineral oil is a great choice. A wooden rolling pin is a good beginner turning project.
A turned rolling pin is a fairly straight forward project. Don’t rush getting the rolling pin smooth with the skew chisel. If you do get a catch you’ll have a lot of wood to remove to make the pin smooth again. The key to a good rolling pin is the smoothness of the rolling section of the pin. This is dependent on your skew chisel work and sanding.
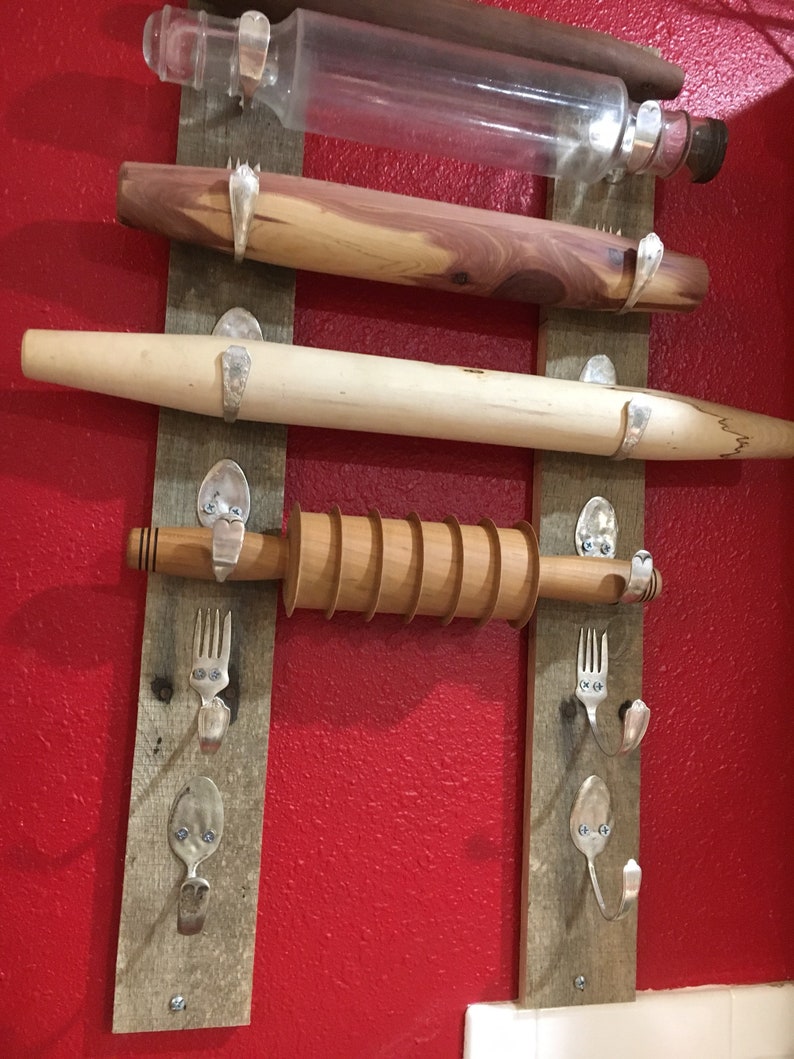
Using a spindle sander, I made half-round saddles for the rolling pins to sit in. If you don’t already have a straight rolling pin, you could go to the hardware store or lumberyard to get one instead. A 20-inch wooden dowel rod is thicker than a dowel rod and has a diameter of 1.5 to 2 inches. They do not heat up as quickly as wooden pins, so make sure you roll the dough carefully before re-rolling it. As mentioned earlier, I like to seal wood surfaces to prepare them for paint. The sealer creates a non-porous layer that acts as a barrier, allowing for fewer paint coats.
A straight edge identifies where the high spots are. Once you are really close use your fingers to detect any slight imperfections. A rolling pin is a kitchen utensil so make sure that the wood you are using is food safe and not toxic.
These make great gifts for the home decor lover, or even as great toppers on actual presents. Once dry, apply the vinyl decals you want to the front. Then you will want to paint your fronts and backs of the blocks. First, you will want to paint or stain the side edges of your block. I choose to stain the sides with an Antique Wax which is a chalk paint wax made by Waverly. After six years of continuous operation, I officially retired the computer inside my wooden computer case.
So, if you have an apple slicer, lightly press down until you have little indentations in the wood. For your dowel, you can use any type of hardwood that’s available (maple, walnut, oak, ash, beech, teak, etc.). Place the end of the dowel into eight equal parts. Continue to cut until you have eight dowel cuts. Use your index finger to push the loop under the first loop.


No comments:
Post a Comment